

Key Takeaways
Start here
Choosing the Right Spot
Next
Understanding Your Soil
Then
Deciding What to Grow
Get hands-on
Planting and Watering Basics
Keep it going
Maintaining Your Garden Through the Season
Finish line
Harvesting Your First Crop
Choosing the Right Spot
Before you buy a single seed, spend a few days watching how sunlight moves across your yard. Vegetables are sun-hungry plants — most need at least six hours of direct sunlight each day to produce a meaningful harvest. Pick the brightest, most open area available to you.
Beyond light, think about convenience. A garden you walk past every day gets watered and tended; one tucked in a far corner often gets forgotten. Position your bed close to a water source so dragging a hose doesn't become a chore. Avoid low-lying spots where water pools after rain — standing water suffocates roots and invites disease.
Not sure whether raised beds or in-ground planting suits your yard better? Our raised beds vs. in-ground planting guide walks through the practical trade-offs in drainage, cost, and long-term effort.
Start Smaller Than You Think
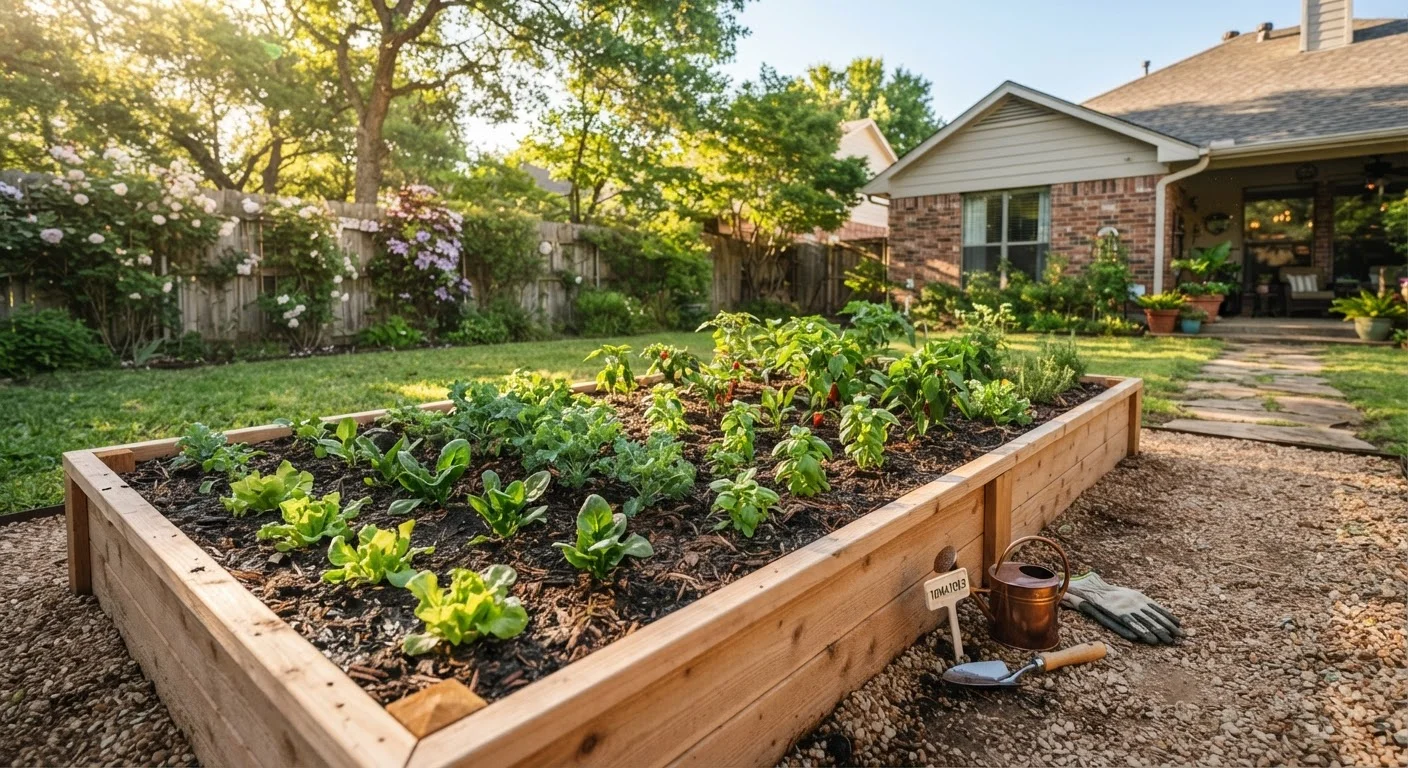
A 4×8-foot raised bed is enough to produce lettuce, beans, herbs, and a tomato plant — and it won't overwhelm you. Experienced gardeners consistently say they wish they had started smaller and expanded gradually. A manageable first garden builds the habits and knowledge that make a larger one succeed.
Understanding Your Soil
Soil is where your garden either thrives or struggles. Healthy garden soil is loose, dark, and rich in organic matter — it holds moisture without becoming waterlogged and crumbles easily in your hand. Hard, compacted, or pale soil signals trouble before you plant.
A basic soil test — available through many cooperative extension offices and garden centers — tells you your soil's pH and nutrient levels. Most vegetables prefer a pH between 6.0 and 7.0. If your soil is too acidic, ground limestone raises the pH; if too alkaline, sulfur lowers it. Always follow product guidelines and local recommendations.
Mixing in compost is the single most effective improvement most beginners can make. It improves soil structure, feeds beneficial microbes, and slowly releases nutrients. For a deeper understanding of what's actually happening beneath your plants, read our guide to soil health. And if you want to make your own amendment at home, our home composting walkthrough is a practical place to start.
pH
A scale from 0 to 14 measuring how acidic or alkaline your soil is. Most vegetables grow best between 6.0 and 7.0, which is slightly acidic to neutral.
Organic matter
Decomposed plant or animal material mixed into soil — things like compost or aged manure. It improves soil structure, drainage, and the nutrients available to plant roots.
Bolting
When a plant shifts energy from producing leaves or fruit to flowering and setting seed, usually triggered by heat or long days. Bolted lettuce, for example, turns bitter and tough.
Direct sowing
Planting seeds straight into the garden soil rather than starting them indoors first. Crops like carrots, beans, and radishes are typically direct-sown because they don't transplant well.
Hardiness zone
A geographic classification system — most commonly the USDA map in the U.S. — that indicates average minimum winter temperatures in an area, helping gardeners choose plants likely to survive and thrive locally.
Mulch
A layer of material — straw, wood chips, shredded leaves — spread on the soil surface around plants to suppress weeds, retain moisture, and moderate soil temperature.
Deciding What to Grow
Choose crops you actually want to eat, then filter that list by what your climate and space can realistically support. For a first season, lean toward fast-maturing, forgiving varieties.
- Leafy greens (lettuce, spinach, kale) — ready in 30–50 days, tolerate partial shade
- Radishes — harvest in as little as three weeks, great for impatient beginners
- Bush beans — productive, need no staking, and mature in 50–60 days
- Zucchini — grows vigorously with minimal fuss; one or two plants is usually plenty
- Cherry tomatoes — more forgiving than larger varieties and produce over a long season
Resist the urge to plant everything at once. A focused first garden teaches you more and produces better results than a sprawling, overstretched one. Pairing compatible plants nearby can also help — our companion planting guide explains the logic behind strategic plant pairings.
If yard space is genuinely limited, many of these crops adapt surprisingly well to pots. See what works in container growing for an honest comparison.
Planting and Watering Basics
Read your seed packets carefully — they tell you planting depth, spacing, and days to maturity. Crowding plants is one of the most common beginner mistakes; it reduces airflow and invites disease. Give each plant the room it needs.
Some crops are best started as seeds sown directly into the garden (beans, carrots, radishes). Others — tomatoes, peppers — benefit from being started indoors weeks before your last frost date or purchased as transplants from a garden center. Check each crop's preference before you begin.
Water deeply and less frequently rather than giving shallow sprinkles every day. Deep watering encourages roots to grow downward, making plants more drought-tolerant. Aim for the base of the plant, not the leaves — wet foliage increases disease risk. The simplest check: push your finger about an inch into the soil. If it's dry, water. If it still feels moist, wait.
Don't Overwater Young Seedlings
Overwatering is one of the leading causes of seedling failure. Constantly wet soil deprives roots of oxygen and promotes root rot and fungal disease. Let the top inch of soil dry out slightly between waterings for most crops. If seedlings are wilting in midday heat but recover by evening, they are likely fine — wilting that persists into the morning is a sign they need water.
Maintaining Your Garden Through the Season
Once your plants are in the ground, your main jobs are weeding, feeding, and watching for problems. Weeds compete for water and nutrients, so remove them while they're small and before they set seed. A layer of mulch — straw, shredded leaves, or wood chips — around your plants suppresses weeds and retains soil moisture at the same time.
Most vegetable gardens benefit from a mid-season nutrient boost, especially if your soil wasn't heavily amended. A balanced, slow-release fertilizer or a side-dressing of compost works well for most crops. Avoid over-fertilizing with nitrogen — it produces lush leaves at the expense of fruit.
Inspect plants regularly for pests and signs of disease. Catching problems early — a handful of aphids, the first signs of powdery mildew — is far easier than managing an infestation. For a full season-by-season task checklist, our seasonal garden prep checklist keeps you on track from spring through fall.
Harvesting Your First Crop
Harvesting at the right time matters as much as growing. Many vegetables are actually more flavorful when picked slightly on the younger side — zucchini at 6–8 inches, beans before the pods bulge, lettuce before it bolts (sends up a flower stalk).
Frequent harvesting signals the plant to keep producing. If you leave ripe vegetables on the plant too long, production slows or stops. Check your garden every two to three days once crops start maturing.
Use clean scissors or garden snips rather than pulling or tearing, which can damage the plant. Harvest in the morning when produce is at its freshest and temperatures are cooler.
Your first harvest — however modest — is proof that the system works. Note what thrived, what struggled, and what you'd plant differently. That seasonal reflection is how casual beginners become confident, productive gardeners year after year.