

Key Takeaways
Why Composting Is Worth the Effort
Home composting does two things at once: it diverts organic waste from landfills, and it produces a soil amendment that genuinely improves the ground your plants grow in. The U.S. Environmental Protection Agency estimates that food and yard waste together make up a substantial portion of what households send to landfill — material that could instead be feeding your garden.
The finished product — often called humus (pronounced HYOO-mus) — improves soil drainage in clay-heavy ground, helps sandy soil retain moisture, and introduces the microbial activity that makes nutrients available to plant roots. If you've ever wondered why one corner of a garden grows better than another, soil organic matter is often a key part of the answer. Our soil health explainer breaks this down in more detail.
Composting also pairs naturally with other garden practices. If you're starting a vegetable garden from scratch, incorporating compost into your beds before your first planting gives seedlings a strong foundation. And if you use mulch, understanding how it differs from compost matters — our piece on organic vs. inorganic mulch clarifies when each makes sense.
Speed Things Up With a Simple Trick
Chop or shred materials before adding them to the bin. Smaller pieces expose more surface area to microbes, which can cut decomposition time nearly in half. A cheap handheld pruner or even kitchen scissors works well for vegetable scraps and soft stems.
What You'll Need Before You Start
You don't need specialized equipment to compost successfully, but a few basics make the process easier and more consistent.
Compost bin or pile enclosure
Contains materials, retains heat and moisture, and keeps the pile tidy.
Garden fork or compost aerator
Used to turn and aerate the pile, which accelerates decomposition.
Kitchen scrap container with lid
Collects food scraps at the counter so you aren't making multiple daily trips to the bin.
Garden hose or watering can
Used to moisten a dry pile to the consistency of a wrung-out sponge.
Thermometer (compost or candy type)
Helps you confirm the pile is reaching active decomposition temperatures (130–160°F).
What you will need
Once you have these elements in place, you're ready to build your first pile.
Never Compost These Items
Meat, fish, bones, dairy products, and cooking oils attract rodents and generate harmful bacteria in a standard home bin. Diseased plants and pet waste (from dogs or cats) should also stay out, as they can introduce pathogens that survive typical home-composting temperatures. When in doubt, leave it out.
Step-by-Step: Building and Managing Your Compost
Choose your composting method
Select an approach that fits your space and lifestyle. A traditional open pile or three-bin system suits most yards and handles large volumes. A tumbler bin is tidier and deters pests. For small spaces, a worm bin (vermicomposting) or bokashi fermentation system works indoors or on a balcony. Each method follows the same principles — balance, moisture, and aeration — just at different scales.
Pick the right location
Place your bin on bare soil or grass rather than concrete wherever possible — this allows drainage and gives beneficial organisms access to the pile. Choose a spot with partial shade to slow moisture evaporation, and somewhere reasonably convenient to your kitchen door so adding scraps feels effortless rather than a chore.
Layer your greens and browns
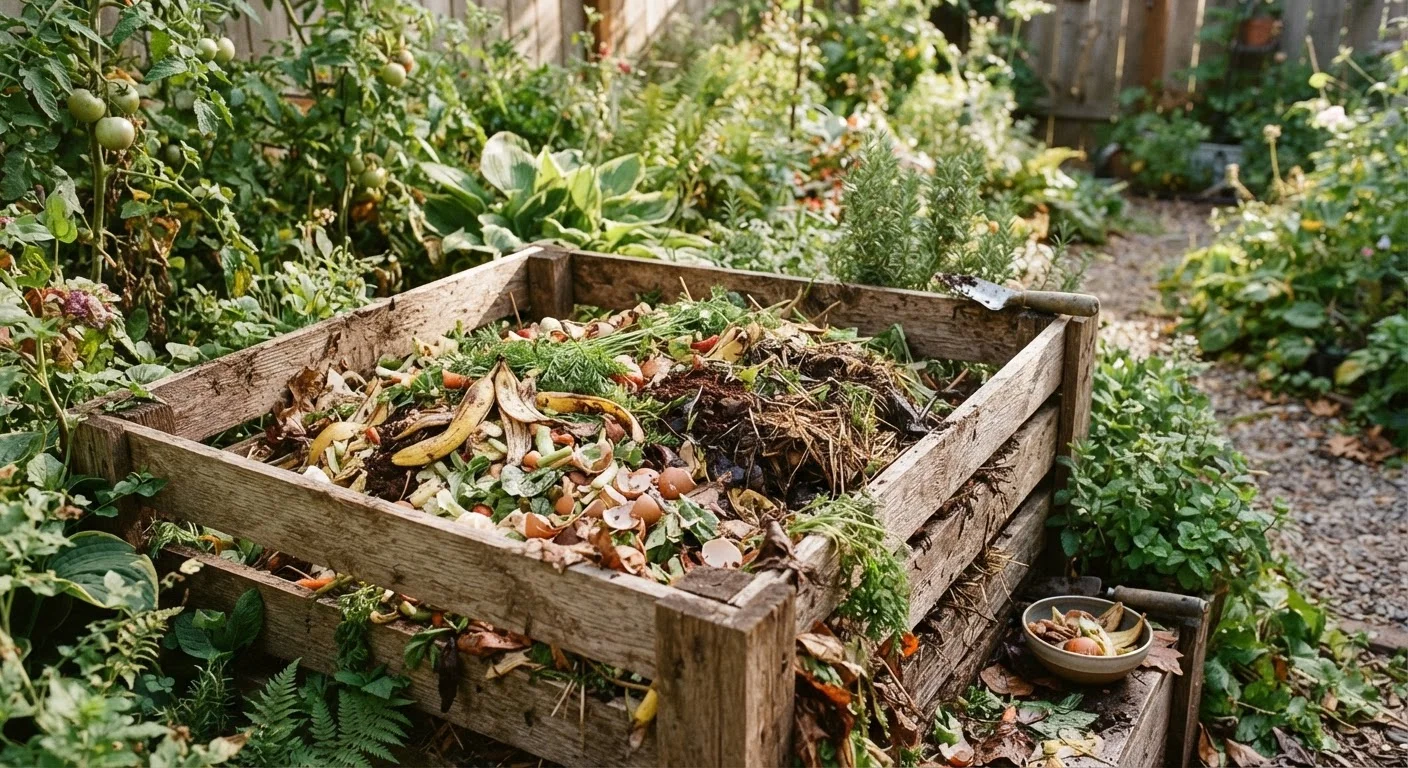
Healthy compost relies on a rough ratio of about 3 parts browns (carbon-rich) to 1 part greens (nitrogen-rich) by volume. Browns include dry leaves, cardboard, newspaper, straw, and wood chips. Greens include vegetable and fruit scraps, coffee grounds, grass clippings, and plant trimmings. Start with a 4–6 inch layer of browns, then add a thinner layer of greens, and repeat. This structure keeps the pile aerated and odor-free.
Keep the moisture right
Your pile should feel like a wrung-out sponge — damp throughout but not dripping. Too dry and microbial activity slows to a crawl; too wet and the pile goes anaerobic (oxygen-deprived), producing foul odors. Check moisture each time you add materials. In dry spells, water lightly with a hose. In heavy rain, cover the pile with a tarp or lid to prevent waterlogging.
Turn the pile regularly
Turning introduces oxygen, which feeds the aerobic bacteria doing the heavy decomposition work. Aim to turn your pile every 1–2 weeks using a garden fork, moving material from the outer edges into the center. A pile that is turned frequently can produce finished compost in as little as 6–8 weeks during warm months. A neglected pile can take 6–12 months or longer.
Recognize when compost is finished
Finished compost is dark brown to black, has a crumbly, soil-like texture, and smells earthy — similar to a forest floor after rain. You should not be able to identify individual scraps. If you can still see recognizable food pieces, give it more time or push those bits back into the center of the pile. Partially finished compost can still be used as a mulch layer, but dig finished compost into soil for maximum benefit.
Apply compost to your garden
Work 1–3 inches of finished compost into the top 6 inches of garden beds before planting, or use it as a top dressing around established plants. Compost improves soil structure, feeds beneficial microbial life, and helps soil retain moisture — benefits that synthetic fertilizers alone cannot replicate. For more on how organic matter transforms your growing medium, see our guide to soil health.
Wet and Slimy Pile? Act Quickly
A pile that smells like ammonia or rotting garbage is usually too wet or too heavy on greens. Add a generous layer of dry browns — shredded cardboard, fallen leaves, or newspaper — and turn the pile to reintroduce air. Left unaddressed, an anaerobic pile can become a neighborhood nuisance and may attract pests.
As your composting habit matures, you'll likely find yourself looking for more ways to close the loop in your garden. Companion planting and natural pest control are two practices that pair well with the healthy, living soil that consistent composting builds.