

Key Takeaways
Why Radiators Trap Air — and Why It Matters
Hot-water central heating systems work by pumping heated water from a boiler through a network of pipes and into each radiator. Air can enter this closed loop over time through several routes: when the system is refilled after maintenance, through microscopic imperfections in pipe joints, or simply as dissolved gases gradually come out of solution in the water. Because air is lighter than water, it rises and collects near the top of each radiator.
The result is a pocket of air that hot water cannot displace. The bottom of the radiator feels warm — water is still circulating there — but the top stays cool or cold. This means the radiator is delivering noticeably less heat than it should, and your boiler has to work harder (and longer) to compensate, which can push energy bills higher over time.
Bleeding a radiator simply means opening a small valve — called the bleed valve — to let that trapped air escape. Once the air is out, water fills the entire radiator and even heating is restored.
What You'll Need Before You Start
What you will need
Radiator bleed key
Fits the square peg on the bleed valve to open and close it — available at most hardware stores.
Old cloth or small towel
Placed beneath the bleed valve to catch any water that drips out when air escapes.
Small container or bowl
Catches water in case more than a few drops escape from the valve.
Boiler manual
Confirms the correct system pressure range and explains how to use the filling loop for your specific boiler model.
How to Bleed a Radiator: Step-by-Step
Work through each radiator that has a cold top — or bleed all of them if you're not sure which ones are affected. Start with the radiator furthest from the boiler and work back toward it.
Turn off your central heating
Switch off your boiler or set the programmer so no heating cycle will start. Allow all radiators to cool completely — typically 30 to 60 minutes. Working on a hot radiator risks burns from escaping steam or hot water.
Locate the bleed valve
The bleed valve is a small square-ended plug set into one end of the radiator, usually at the top corner. It is distinct from the larger lockshield valve and thermostatic radiator valve (TRV) at the bottom of the radiator, which control flow and temperature.
Position your cloth and insert the bleed key
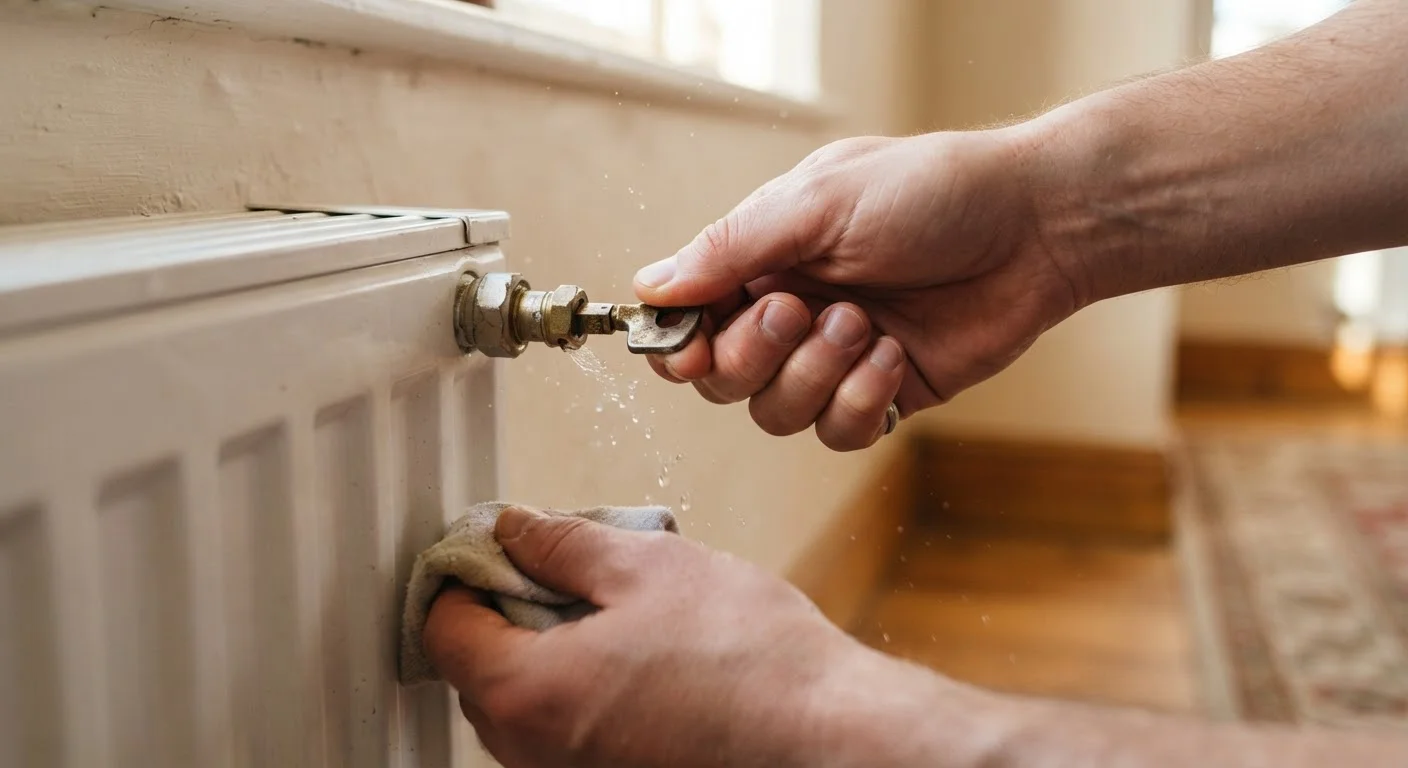
Place the cloth directly below the bleed valve to catch drips. Insert the bleed key into the square slot on the valve. Hold the cloth close with your free hand.
Open the valve and listen for hissing
Turn the key counterclockwise slowly. You should hear a hiss as trapped air escapes. Keep the valve in this position, holding the cloth ready, until the hissing stops and a steady trickle of water appears. This means all the air in that radiator has been released.
Close the valve and wipe the area
As soon as water flows steadily — with no more sputtering or air — turn the key clockwise to close the valve firmly. Do not overtighten; gentle, snug pressure is sufficient. Wipe any water from the valve and the radiator surface.
Repeat for each affected radiator
Move to the next radiator that needs bleeding, starting from the furthest from the boiler. Repeat steps 2 through 5 for each one. Working in order helps ensure you purge air systematically through the whole system.
Check and restore boiler pressure
Once all radiators are bled, check the boiler's pressure gauge. If pressure has dropped below the recommended level, use the filling loop to bring it back into the correct range before switching the heating back on. Consult your boiler manual for exact guidance.
After Bleeding: What to Check
Releasing air from the system lowers the water volume, which in turn drops the boiler's system pressure. Most modern combi boilers have a pressure gauge on the front — a typical safe range is 1 to 1.5 bar when the system is cold, though your boiler's manual will confirm the correct target for your specific model.
If the needle has dropped below the recommended level, you'll need to top up the system via the filling loop — a short braided hose, usually located beneath the boiler, with one or two valves you open briefly to let mains water in. Fill slowly and stop as soon as the gauge reaches the correct pressure. If you're unsure how to do this, consult your boiler's manual or contact a Gas Safe registered engineer.
Boiler Pressure Must Be Checked
Bleeding radiators always lowers system pressure to some degree. Running a boiler with pressure that is too low can cause it to lock out or sustain damage. Always check the gauge after bleeding and top up if needed, staying within the range specified in your boiler's manual. If you are not confident doing this, call a qualified heating engineer.
Finally, turn your heating back on and check each bled radiator after 30 minutes. They should now heat evenly from top to bottom. If a radiator still has a persistent cold spot, or if you find yourself bleeding it repeatedly every few weeks, that can indicate a deeper issue — such as a failing pump, a system that needs a powerflush to remove sludge, or a faulty bleed valve — and a heating engineer should take a look.
Staying on top of small maintenance tasks like this is similar to the attentive approach worth applying to other home systems. Just as ignoring minor fluid issues in a vehicle can escalate costs — as covered in our piece on common fluid mix-ups that lead to expensive repairs — catching air in your radiators early keeps your heating system running efficiently before bigger problems develop.