

Key Takeaways
Why Small Gaps Are a Big Deal
A hairline crack along a window frame or a gap where a pipe enters the wall might seem trivial. Collectively, though, these openings can add up to the equivalent of leaving a small window open year-round. The U.S. Department of Energy has noted that air sealing — which includes caulking — is one of the most cost-effective ways to reduce heating and cooling costs in an existing home.
Beyond energy bills, unsealed gaps invite moisture, which can lead to mold, wood rot, and insulation damage over time. For a deeper look at how moisture travels through a home's envelope, see our guide on ventilation, insulation, and vapour control.
Caulking is not the solution to every gap, however. Movable joints around doors and operable windows call for weatherstripping instead. Our article on caulking vs. weatherstripping explains how to tell which method fits each situation.
Choosing the Right Caulk for Each Location
Not all caulk is interchangeable. Using the wrong type is one of the most common reasons a seal fails prematurely — and it's a pitfall covered in our piece on DIY fixes that often make things worse.
Match caulk formulation to the surface and environment where it will live
Silicone, latex, and polyurethane caulks have different adhesion properties, flexibility ranges, and moisture tolerances. Using a paintable latex caulk in a wet shower surround, for example, will cause it to fail within months. Selecting the right product from the start avoids costly rework.
Prepare the surface thoroughly before applying any caulk
Caulk bonds to the substrate, not to old caulk, dust, or grease. Skipping surface prep is the leading cause of premature caulk failure. A clean, dry surface can double or triple how long a seal lasts.
Fill gaps larger than a quarter inch with backer rod before caulking
Caulk is not a gap filler — it's a joint sealer. Applying it over a wide gap causes it to sink, crack, and fail. Backer rod (a foam rope inserted into the gap first) provides the backing caulk needs to form a proper seal.
Tool the bead in one smooth pass before it begins to skin
An untooled bead traps air pockets and doesn't press firmly into the joint. Tooling also creates a concave profile that sheds water away from the gap. Most caulks begin to skin within 5–10 minutes of application, so speed matters.
Inspect and re-caulk on a regular schedule rather than waiting for visible failure
Caulk degrades gradually — it becomes brittle, shrinks, or pulls away from the substrate long before a gap is obviously visible. Proactive inspection every one to two years catches deterioration early and prevents the moisture or energy loss that follows.
As a general rule: silicone for wet or exterior areas, latex (acrylic) for interior trim and paintable surfaces, and polyurethane-based products for gaps exceeding a quarter inch. Always read the label for temperature range, cure time, and paintability before purchasing.
Where to Look First: High-Priority Locations
A methodical walk-through of your home will reveal more caulkable gaps than most homeowners expect. Focus on these areas in order of impact:
- Window and door frames — where the frame meets the wall surface on the interior side
- Baseboards and trim — small gaps here allow conditioned air to escape into wall cavities
- Plumbing and electrical penetrations — pipes and conduit passing through exterior walls or floors
- Attic hatch perimeter — a frequently overlooked air-leak point
- Where the sill plate meets the foundation — best addressed from the basement or crawl space
Adding caulking inspections to your routine maintenance schedule pays dividends. Our seasonal home maintenance checklist can help you build that habit systematically.
Up to 30%
Of home heating and cooling lost to air leaks
The U.S. Department of Energy estimates that air infiltration through gaps, cracks, and openings can account for up to 30% of a home's heating and cooling energy use.
$0.05–$0.15
Typical cost per linear foot of caulk applied
Caulking materials are among the lowest-cost home maintenance supplies, making it one of the highest return-on-effort tasks a homeowner can perform.
Technique: Getting a Clean, Lasting Seal
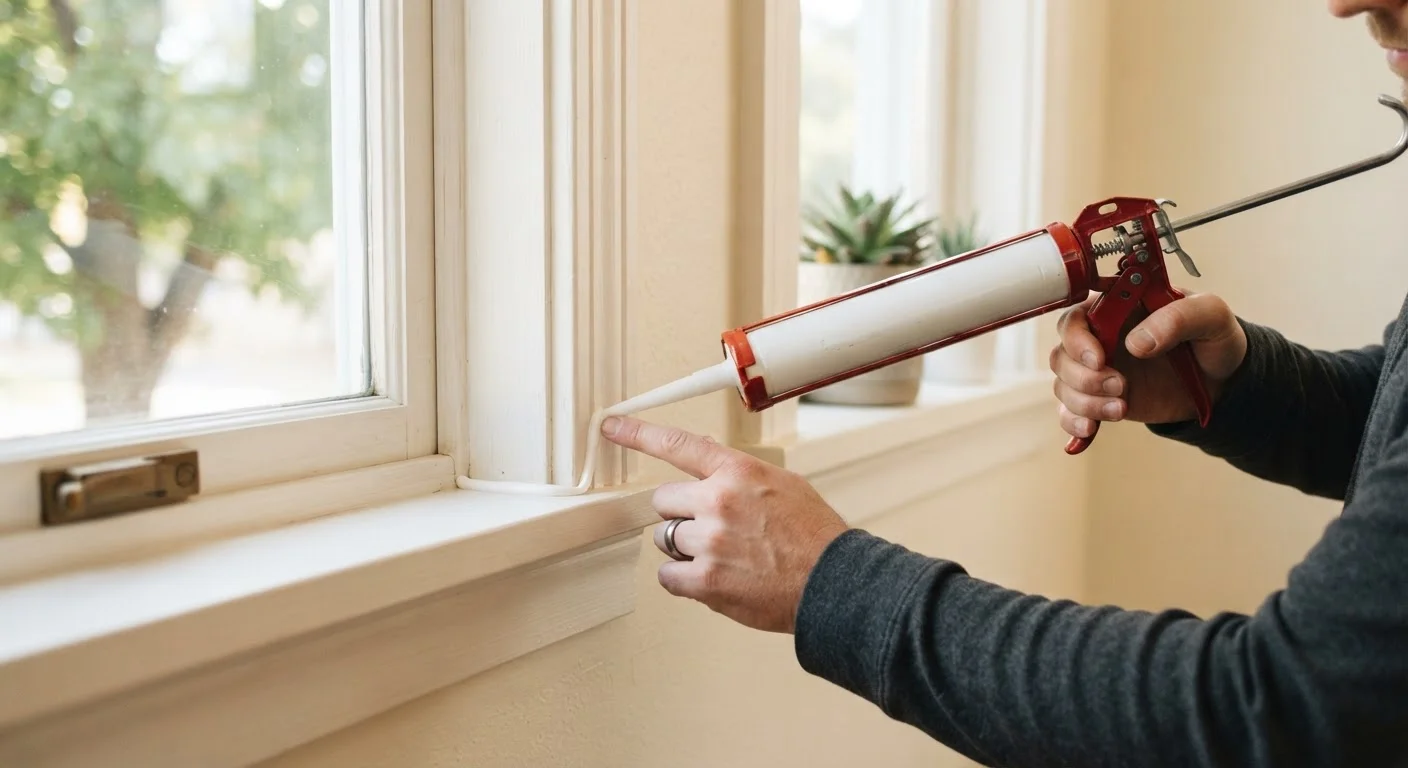
Even the right caulk in the right place will fail quickly if applied over a dirty or damaged surface. Follow this sequence for professional-quality results:
- Remove old caulk completely. Use a plastic scraper or purpose-made caulk remover tool. Leaving remnants creates an uneven surface that prevents adhesion.
- Clean and dry the surface. Wipe with a damp cloth, then let it dry fully — at least an hour. Silicone won't adhere to damp surfaces.
- Cut the nozzle at a 45-degree angle. A smaller opening (about 3/16 inch for most gaps) gives more control than a wide cut.
- Apply steady, consistent pressure. Move the gun at a pace that fills the joint without excess. Let the caulk lead the nozzle rather than chasing it.
- Tool the bead immediately. Wet your fingertip or a plastic tool and smooth the bead in one continuous stroke before it skins over.
- Allow full cure before painting or exposing to water. Cure times range from a few hours (latex) to 24–48 hours (silicone). Check the product label.
When to Call a Professional
Caulking is one of the most beginner-friendly home maintenance tasks, but certain situations warrant expert help. Gaps near the electrical panel, signs of structural movement (such as a crack that returns after you seal it), or widespread moisture damage behind walls all require professional assessment before any sealing takes place.
Similarly, gaps in a tiled bathroom or shower area are best addressed during a broader tile project. Our walkthrough on tiling a bathroom wall covers how grout and caulk work together in wet areas. And if the gaps reveal deeper insulation gaps, our comparison of insulation materials can help you evaluate next steps.
Permits and Codes Are Rarely Required for Caulking
Standard caulking around windows, doors, trim, and plumbing fixtures is a no-permit task in virtually all U.S. jurisdictions. However, if your air-sealing project expands to include spray foam in attic bypasses or modifications to a fire-rated assembly, local building codes may apply. When in doubt, check with your local building department before proceeding.