

Key Takeaways
Why Layout Planning Makes or Breaks a Tile Job
The visible quality of a tiled wall is determined almost entirely by decisions made before a single tile is stuck. Tiles that are centered correctly on the wall look deliberate and balanced; tiles that drift or land with a 2-centimeter sliver in one corner look amateurish — and cutting thin slivers is genuinely difficult even with good tools. If you haven't already scoped the full project dimensions, the Reading a Room guide covers accurate measuring and planning fundamentals worth reviewing before you buy materials.
Wall tiling in a bathroom also sits at the more manageable end of the DIY spectrum — it doesn't require permits or licensed trades the way electrical or structural work does. For a broader look at where DIY is appropriate versus where it isn't, see Home Improvement Projects Worth Tackling Yourself.
What you will need
Gather your tools before starting. Having everything on the bench avoids mid-job scrambles that cause mistakes.
Notched trowel
Spreads tile adhesive in ridges that compress evenly when tiles are pressed in, maximising bond strength.
Spirit level (48-inch)
Verifies that reference lines and tile courses are truly horizontal and vertical throughout the job.
Manual tile cutter
Scores and snaps straight cuts on ceramic and porcelain tiles cleanly and quietly.
Angle grinder with diamond blade
Makes curved and notched cuts around outlets, pipes, and fixtures that a manual cutter cannot handle.
Tile spacers
Holds consistent joint width between tiles so grout lines are uniform across the entire wall.
Rubber grout float
Pushes grout into joints at the correct diagonal angle without scratching tile faces.
Bucket and sponge
Used to mix grout and clean haze from tile surfaces during the finishing stage.
Step-by-Step: From Bare Wall to Finished Surface
Follow these steps in order. Skipping stages — particularly the dry-lay check and full adhesive cure time — is the most common cause of gaps, cracked grout, and tiles that work loose within a year.
Establish horizontal and vertical reference lines
Find the lowest point of the area you're tiling and mark a level horizontal line one full tile height above the floor. This becomes your datum line — every course of tiles sits above it. Use a spirit level to draw a true vertical line at the center of the wall, or at a visually dominant point such as the midpoint of a window or niche. These two lines form the cross from which your entire layout radiates.
Dry-lay tiles to check the layout
Before mixing any adhesive, lay tiles along the floor against the wall using spacers, running from your center line to each corner. This reveals how wide the cut tiles at each end will be. If a cut piece would be narrower than half a tile, shift your center line by half a tile width. The goal is balanced, near-equal cuts on both sides — narrow slivers at visible edges look unfinished and are difficult to cut cleanly.
Fix a temporary batten along the datum line
Screw a straight length of timber (a batten) horizontally along the wall at your datum line. This acts as a ledge that supports the first full course of tiles while the adhesive grabs, preventing them from sliding down. Check the batten is level along its entire length before driving screws. Do not tile below the batten yet — you'll fill in the bottom cut tiles last, once upper courses are secure.
Apply adhesive and set the first tiles
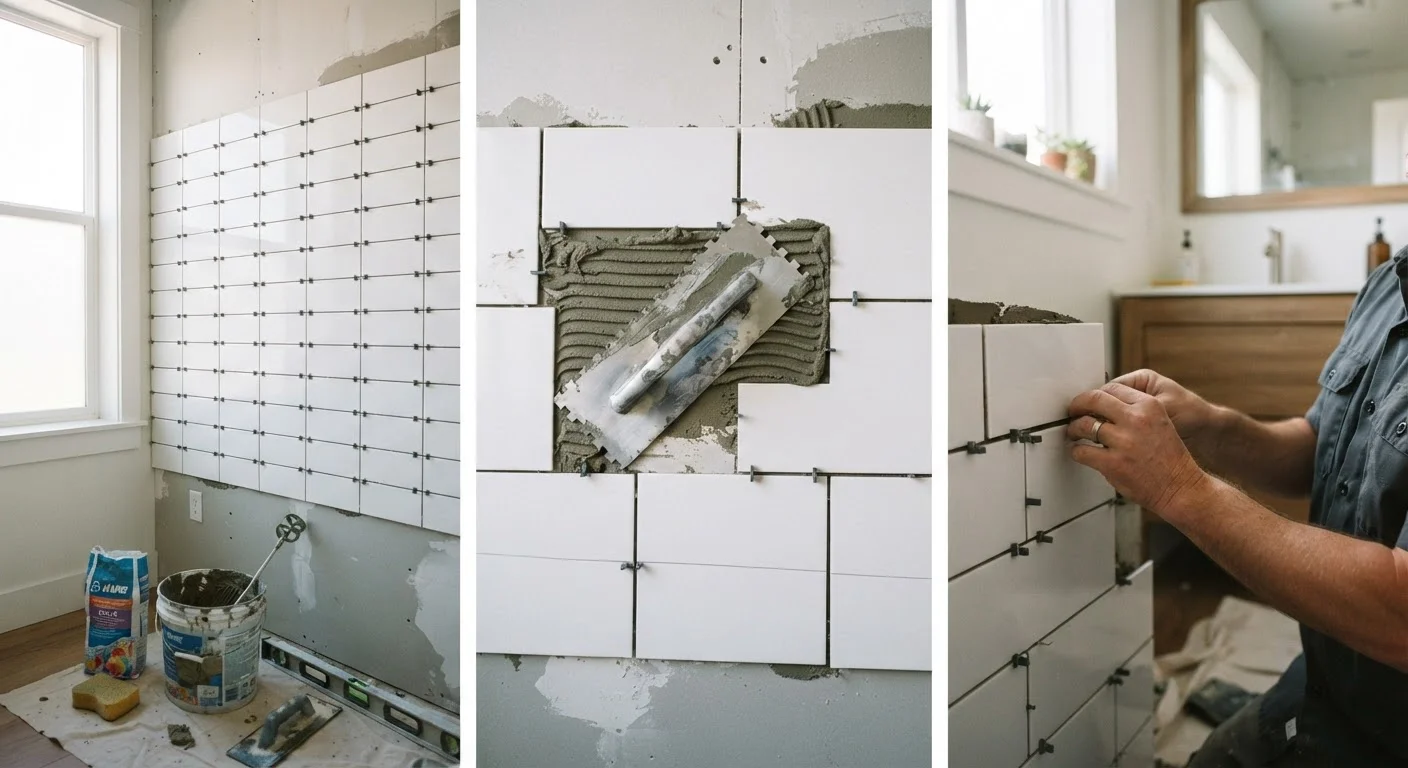
Use the flat side of the notched trowel to press a layer of wall tile adhesive onto the wall, then comb it with the notched side to create even ridges — work in sections no larger than about one square meter at a time so the adhesive doesn't skin over before tiles are pressed in. Press each tile firmly against the wall with a slight twisting motion, align it with your reference lines, and insert spacers at every corner. Check periodically with your spirit level — correct any drift immediately; adhesive sets quickly.
Cut and fit border tiles
Measure each cut tile individually rather than assuming all gaps are identical — walls are rarely perfectly square. Mark the cut line with a pencil and use a manual tile cutter for straight cuts. For notches around pipes or outlets, use an angle grinder with a diamond blade or tile nippers, and work slowly to avoid cracking. Apply adhesive to the wall or directly to the back of smaller cut pieces, then press into position with spacers.
Remove the batten and tile the bottom course
Once the adhesive on the upper and middle sections has firmed enough that tiles don't shift when touched — usually several hours — unscrew and remove the support batten. Measure and cut the bottom row of tiles to fit between the wall and the bath edge or floor. These pieces typically need to be scribed (custom-cut to follow any uneven surface below) for a clean result. Apply adhesive and press them into place with spacers.
Grout the joints
After the adhesive has cured fully — check the manufacturer's guidance, typically 24 hours — remove all tile spacers and mix grout to a smooth, peanut-butter consistency. Load the rubber float and sweep grout diagonally across the joints, pressing it in firmly. Work in manageable sections. After 10–15 minutes, wipe away surface haze with a damp sponge in circular motions, rinsing frequently. Allow grout to cure, then buff off any remaining film with a dry cloth. For guidance on preventing future grout problems, see why grout cracks and discolours.
Seal internal corners and junctions with caulk
Internal corners, the joint where the tiled wall meets the bath or shower tray, and any change of plane must be finished with flexible silicone or acrylic caulk rather than grout. Grout is rigid and will crack at movement joints as the building naturally expands and contracts. Apply a thin, even bead of caulk, smooth it with a wetted finger or caulk tool, and allow it to cure undisturbed. For technique detail, the caulking done right guide walks through application and finishing for a clean result.
Buy More Tile Than You Think You Need
Order at least 10% more tile than your calculated wall area, and up to 15% for tiles laid on a diagonal or for complex walls with many cuts. Tile from the same production batch matches in colour and texture; a tile from a different batch bought later may not match. Spare tiles are also invaluable if a tile ever cracks and needs replacing years down the line.
Once your tiles and grout are complete, the final finishing step — sealing movement joints with caulk — is critical to keeping water out of the wall cavity. Skipping this step is a leading cause of moisture damage behind bathroom tiles.
Never Use Standard Drywall in Wet Areas
Standard drywall (gypsum board) will absorb moisture through tile adhesive and grout over time, causing it to swell, soften, and eventually fail behind your tiles. In shower enclosures and areas subject to direct water contact, the substrate must be a moisture-resistant backer board or a cement board rated for wet use. Verify your wall substrate before tiling — replacing a failed wall after tiles are set is significantly more disruptive and costly than preparing it correctly from the start.