

Key Takeaways
Option A
Caulking
The permanent, rigid gap-filler for stationary joints.
Best for: Best for sealing fixed cracks and gaps where surfaces don't move, such as around window frames, baseboards, and pipe penetrations.
Option B
Weatherstripping
The flexible, compressible seal designed for moving parts.
Best for: Best for sealing movable components like doors and operable windows that open and close repeatedly.
If you're sealing around a fixed window frame or door casing
Caulking
These joints don't move, so a rigid, paintable sealant bonds permanently and handles temperature expansion without cracking under normal conditions.
If you're sealing the gap between a door slab and its frame
Weatherstripping
Door edges open and close thousands of times a year; a compressible strip absorbs that movement without tearing or losing its seal.
If your home has both drafty door gaps and cracked window trim
Both products
Complete draught control usually requires caulk on fixed joints and weatherstripping on moving ones — treating both together delivers the best energy outcome.
If you want a long-lasting, low-maintenance fix for pipe or cable penetrations
Caulking
Flexible silicone or polyurethane caulk forms a durable, waterproof seal around irregular openings that no strip product can match.
What Each Product Actually Does
Both caulking and weatherstripping block the unintended movement of air, moisture, and sometimes sound through gaps in your home's envelope — but they work in fundamentally different ways.
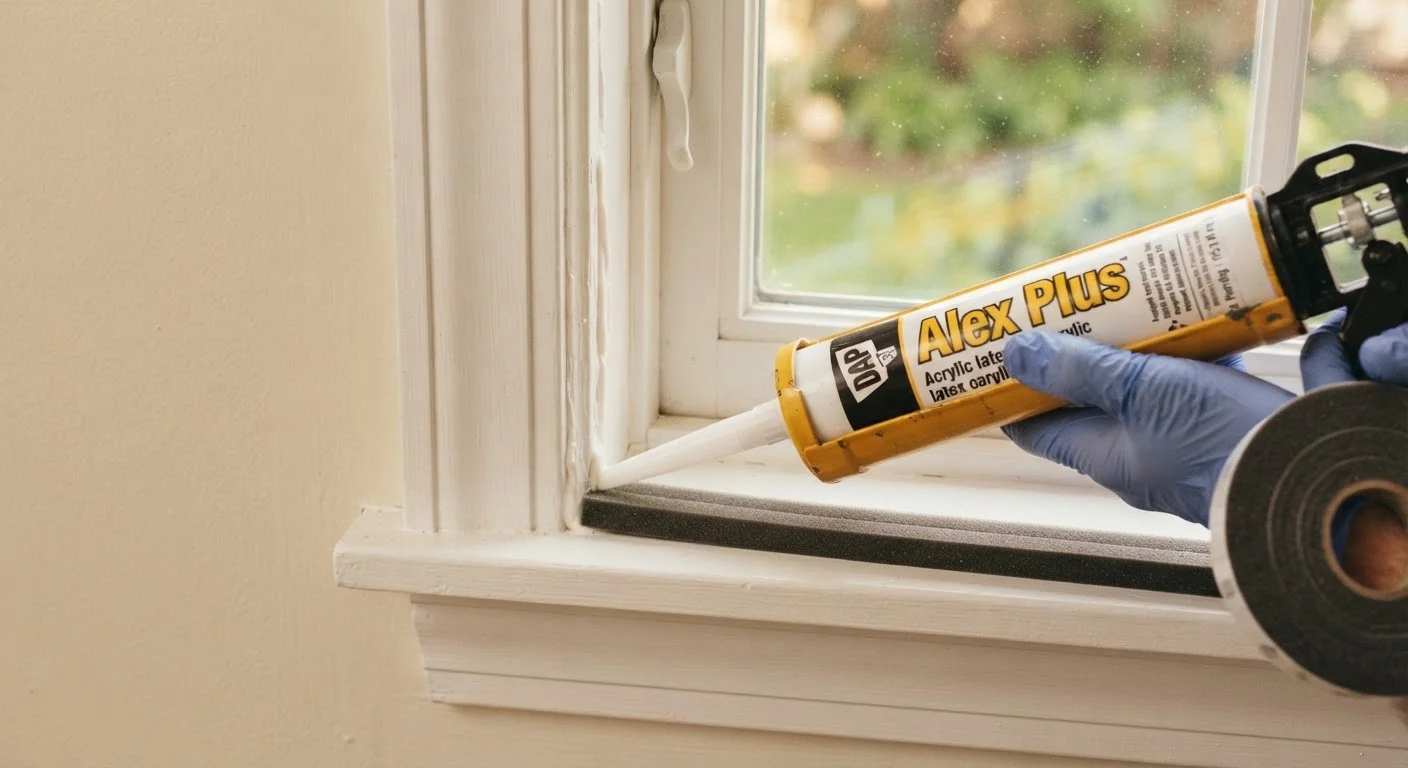
Caulking is a pliable compound applied from a tube that cures into a semi-rigid bead. Once set, it bonds to both surfaces on either side of a gap, creating a continuous seal. Common formulations include silicone (highly water-resistant, flexible after curing), acrylic latex (paintable, easier to clean up), and polyurethane (extremely durable, good for exterior use). Because a cured bead doesn't compress and recover, it works only where both surfaces remain stationary relative to each other.
Weatherstripping is a compressible material — foam tape, V-strip (also called tension seal), door sweeps, or reinforced rubber gaskets — that is pressed or tacked into place along the edge of a moving component. When a door or window closes, the weatherstripping compresses to fill the gap; when it opens, the material springs back. That repeated compression-and-recovery cycle is exactly what caulk cannot tolerate without cracking.
For a deeper look at how sealing fits into broader moisture management, see our guide on ventilation, insulation, and vapour control.
Where to Use Each — and Where Not To
Misapplying either product is one of the most common DIY draught-sealing mistakes. Here's a straightforward breakdown:
Use caulk on:
- The joint between a window or door frame and the surrounding wall trim (the casing)
- Gaps where baseboards meet the floor or wall
- Penetrations where pipes, wires, or ducts pass through exterior walls or floors
- Seams between siding, sheathing, or masonry on the exterior
- Cracks in concrete foundations or masonry above grade
Use weatherstripping on:
- The perimeter of a door slab where it meets the door stop (the inner frame edge)
- The bottom of exterior doors (door sweep or threshold seal)
- Operable window sashes — the part that slides or swings
- Attic hatch perimeters
Never use caulk on:
- The gap between a door slab and its frame — movement will crack the bead within weeks
- Operable window channels where the sash moves
| Criterion | Caulking | Weatherstripping |
|---|---|---|
| Best application | Fixed, stationary gaps and joints | Moving doors and operable windows |
| Typical lifespan | 10–20 years (silicone/polyurethane) | 2–10 years depending on material |
| Handles movement? | No — cracks if surfaces move | Yes — compresses and recovers |
| Water resistance | High (especially silicone) | Moderate; varies by material |
| Paintable? | Yes (acrylic latex); No (silicone) | Generally not painted |
| DIY difficulty | Low to moderate | Low |
| Tools required | Caulking gun, scraper, tape | Scissors or utility knife |
If you'd like detailed technique for applying caulk correctly, our article on caulking done right covers surface prep, product selection, and finishing tips.
Durability, Cost, and Maintenance Expectations
Neither solution is permanent, but their lifespans differ considerably.
Quality exterior caulk — particularly silicone or polyurethane — can last 10 to 20 years in protected locations before it begins to shrink, crack, or separate from the substrate. Acrylic latex caulk used indoors may last indefinitely if the joint remains truly static. Check caulked joints every few years: look for gaps, chalking, or visible separation from the surface.
Weatherstripping has a shorter service life because it endures physical stress every time a door or window operates. Foam tape is the least durable option — it may compress permanently within two to three years in high-traffic doorways. V-strip and reinforced rubber or vinyl gaskets hold up considerably longer, often five to ten years. Door sweeps that drag across thresholds wear faster on hard flooring.
25–30%
Heating and cooling energy lost through air leaks
The U.S. Department of Energy estimates that air infiltration accounts for roughly 25–30% of a home's heating and cooling energy use in many climates.
2–3 years
Typical lifespan of basic foam weatherstripping tape
Foam tape used on frequently opened exterior doors tends to compress permanently and lose its seal within two to three years under regular use.
Cost is generally modest for both. A cartridge of caulk and a basic gun represent a small upfront investment; weatherstripping rolls or door sweeps are similarly affordable at most hardware retailers. The real cost of deferring this maintenance is ongoing energy loss — the U.S. Department of Energy estimates that sealing air leaks can meaningfully reduce heating and cooling costs, though actual savings vary by home size, climate, and existing insulation. Pairing draught sealing with proper insulation amplifies the benefit: see our comparison of fibreglass, spray foam, and rigid board insulation for context.
Getting the Job Done: Preparation Is Everything
Regardless of which product you're applying, surface preparation determines how long the seal lasts.
For caulking:
- Remove all old caulk with a plastic scraper or caulk-removal tool. Residue prevents adhesion.
- Clean the joint thoroughly — remove dust, grease, and any mould — and allow it to dry completely.
- Apply painter's tape on both sides of the joint for a clean line, if desired.
- Cut the cartridge tip at a 45-degree angle, sized to match the gap width.
- Apply steady, even pressure while drawing the gun along the joint in one continuous pass.
- Tool the bead smooth with a wet finger or caulk tool within a few minutes, before skinning begins.
For weatherstripping:
- Clean the door stop or sash channel with a dry cloth; adhesive-backed strips won't bond to dusty or painted surfaces that are flaking.
- Close the door or window and identify the gap you're filling — use a piece of paper to locate where light or air passes through.
- Cut the strip to length and press it firmly along the stop, starting at one corner and working along each side.
- Test the close: the door should shut fully without requiring excessive force, but should not rattle when latched.
A door that requires significant force to close with new weatherstripping in place has strips that are too thick for the gap — compressing too hard will accelerate wear and may stress the hinges or latch mechanism.