

Key Takeaways
Understanding What You're Working With
Drywall — also called gypsum board or sheetrock — is the standard wall material in virtually all American homes built after the 1950s. It consists of a gypsum plaster core sandwiched between two layers of paper facing. That construction makes it relatively easy to cut, patch, and finish, which is why drywall repair is one of the most accessible DIY home maintenance tasks available to homeowners.
That said, not every wall problem is a simple cosmetic fix. Before reaching for the spackling compound, take a moment to understand what caused the damage. A doorknob impact, a moved picture hook, or an accidental bump during moving are all straightforward cases. But if you notice cracks radiating from corners, recurring damage in the same spot, or discoloration around the hole, there may be a deeper issue at play. See what your wall cracks might be signaling before starting a repair that could mask a structural or moisture problem.
It's also worth knowing where drywall repair ends and professional territory begins. Some home improvement tasks genuinely reward a DIY approach, while others carry risks that outweigh the savings. Small to medium drywall holes fall comfortably in the DIY-friendly category — provided there's no hidden hazard and the surrounding wall is structurally sound.
Check for Hidden Hazards First
Before cutting into any wall, confirm there are no electrical wires, plumbing pipes, or HVAC ducts behind the drywall. Use an inexpensive stud finder with AC-detection capability or turn off the relevant circuit and probe carefully. Cutting into live wiring is a serious safety risk — if you are unsure what is behind a wall, consult a licensed electrician or contractor before proceeding.
Tools and Materials You'll Need
Gathering everything before you start prevents interruptions mid-repair, when your hands are coated in joint compound. The list below covers the essentials for holes ranging from a nail pop up to about six inches in diameter.
Putty knife or drywall knife (4–6 inch)
Applies and smooths spackling or joint compound over the repair area.
Drywall patch kit or mesh tape
Provides structural backing for holes too large to fill with compound alone.
Joint compound (all-purpose or lightweight)
The primary fill material used to level and blend the patch with the surrounding wall.
Sandpaper (120- and 220-grit)
Smooths each dried coat of compound and prepares the surface for paint.
Drywall primer (PVA)
Seals the porous compound so paint absorbs evenly over the patched area.
Stud finder with AC detection
Locates studs and flags hidden wiring before you cut into the wall.
Corner bead or drywall screws
Anchors a backing board inside the wall cavity for medium to large holes.
Texture spray or sponge
Replicates existing wall texture (orange peel, knockdown) over the finished patch.
What you will need
One common pitfall is skipping the texture-matching step and painting directly over a smooth compound patch on a textured wall — the result is a visually obvious repair. Similarly, well-intentioned shortcuts can sometimes create bigger problems, so investing a little extra time in each coat pays off in a seamless finish.
Step-by-Step Repair Process
Follow these steps in order. Rushing a coat that hasn't fully dried, or skipping the sanding stages, are the two most common reasons a patch remains visible after painting. Work methodically, and the process is straightforward.
Assess the hole and choose your repair method
The right approach depends on hole size. Use these general guidelines:
- Nail holes and dents (under ½ inch): Fill directly with lightweight spackling compound — no backing needed.
- Small holes (½ inch to 4 inches): Use a self-adhesive mesh patch or a peel-and-stick drywall patch kit for backing before applying compound.
- Medium holes (4–6 inches): Cut the opening into a clean rectangle, attach a wooden backer board inside the cavity, then cut a matching drywall piece to fill the gap.
Anything larger than six inches, or any hole showing signs of structural damage, is worth getting a professional opinion on before you proceed.
Prepare the damaged area
Remove any loose paper facing, crumbling edges, or debris from around the hole. For small holes, lightly sand the perimeter so compound will bond cleanly. For medium holes requiring a backer board, use a drywall saw or utility knife to cut the opening into a neat rectangle — straight edges are far easier to patch than ragged, irregular ones. Vacuum away dust before moving on.
Install backing support for larger holes
For holes requiring a backer, cut a piece of 1×3 or 1×4 lumber a few inches longer than the hole's height. Slide it into the hole, hold it flush against the back face of the drywall, and drive drywall screws through the existing wall surface and into the backer at the top and bottom. This anchors the board so it can support the patch piece. Next, cut a drywall patch to fit snugly in the opening and screw it to the backer board.
Apply mesh tape and the first coat of joint compound
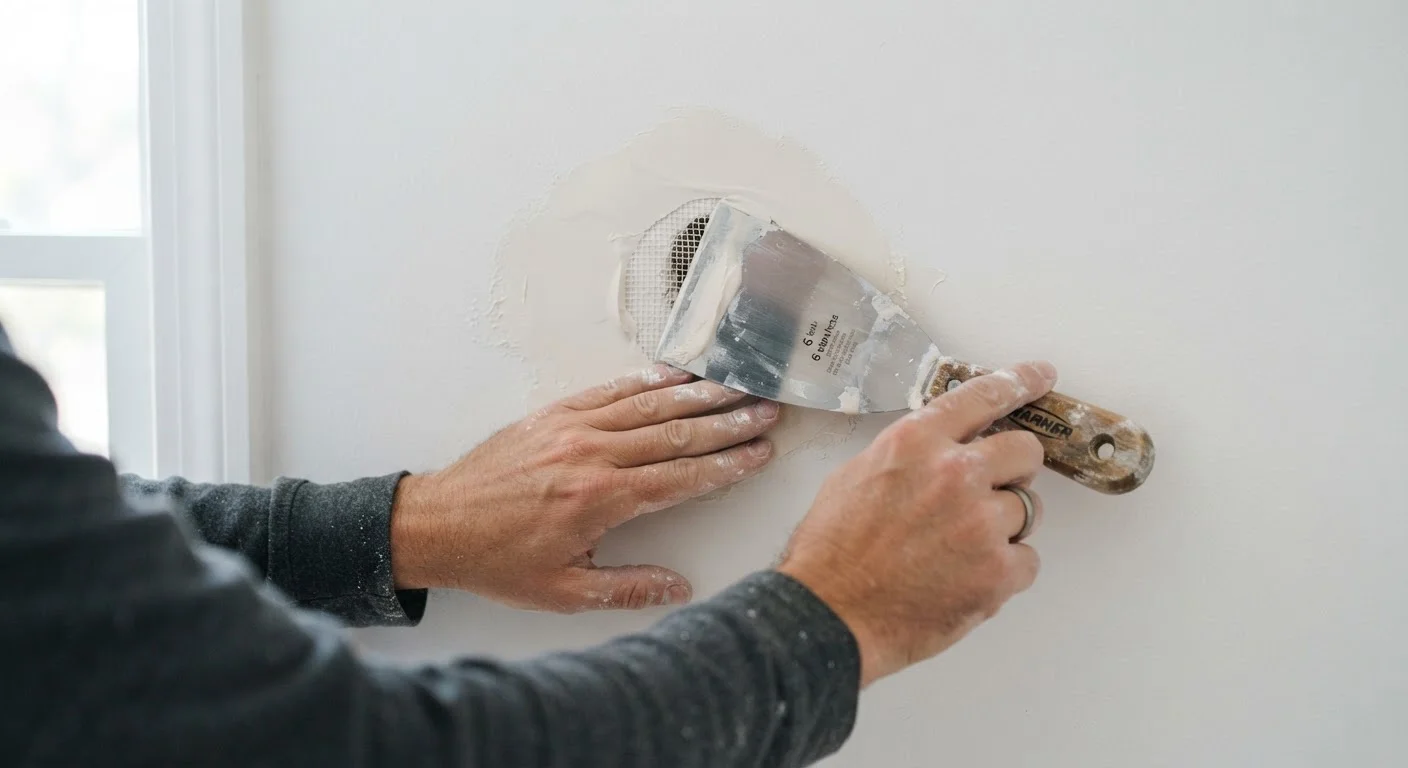
For mesh-backed patches or backer-board repairs, press self-adhesive fiberglass mesh tape over all seams. This reinforces the joint and prevents cracking as the compound dries. Using a 4–6 inch putty knife, apply a thin, even coat of all-purpose joint compound over the tape and across the patch. Feather the edges outward several inches onto the undamaged wall — this gradual blend is what makes a patch invisible once painted. Let this first coat dry completely (typically 4–8 hours depending on humidity).
Sand, apply a second coat, and repeat
Once the first coat is fully dry, lightly sand it with 120-grit sandpaper to knock down ridges and tool marks. Wipe away dust with a slightly damp cloth. Apply a second, thinner coat of joint compound, feathering it even wider than the first. Most patches need two to three coats total. The final coat should be very thin — almost translucent — and feathered well beyond the patch boundary. After the final coat dries, finish-sand with 220-grit paper until the surface feels smooth to the touch with no perceptible edge.
Match the texture, prime, and paint
If your walls have a texture (orange peel, knockdown, or skip trowel), replicating it is critical before painting. Texture sprays available at hardware stores can approximate common finishes; practice on a scrap piece of cardboard first to calibrate the spray distance and density. Once the texture is dry, apply a coat of drywall PVA primer over the entire patched zone. This seals the compound and ensures the paint color matches evenly. Finish with your wall's existing paint color — a small test patch first helps confirm the match before painting the full area.
Water Damage Requires More Than a Patch
If the hole or surrounding drywall feels soft, crumbles easily, or shows staining or mold, a simple cosmetic patch will not solve the underlying problem. Water-damaged drywall must be dried out fully and the moisture source identified before any repair work begins. Covering active moisture can lead to mold growth inside the wall. When in doubt, have a professional evaluate the area.
Prime Before Painting for Best Results
Joint compound is porous and absorbs paint differently than the surrounding wall. Always apply a coat of drywall primer — sometimes called PVA primer — over the patched area before your finish coat. Skipping primer often results in a dull 'flashing' spot that shows through the paint, even after multiple coats.
After the Repair: Finishing Tips
A well-executed drywall patch should be completely invisible once the paint is dry. Run your hand across the repaired area — you should feel no ridge or depression where the patch meets the original wall. If you do, a light skim coat of compound followed by re-sanding will resolve it before you commit to painting.
If you're also dealing with gaps around trim, baseboards, or window frames nearby, those are candidates for caulk rather than joint compound. Proper caulking technique requires its own set of considerations, but it complements drywall repair well when you're already freshening up a room.
Keep leftover joint compound sealed tightly in its container — it stays usable for several months and is handy for touch-ups. Store it at room temperature, since freezing ruins the compound's consistency. With a bit of practice, patching drywall becomes a routine part of home maintenance that saves both money and the hassle of scheduling a service visit for small repairs.