

Key Takeaways
Why Camera Settings Matter More Than Megapixels
Smartphone manufacturers love to advertise megapixel counts, but the settings you choose when you tap the shutter often have a bigger impact on your final photo than the sensor itself. Understanding what each mode actually does — not just what it's called — lets you make deliberate choices instead of guessing.
Your phone's camera app likely has more options than you've explored. The four settings that cause the most confusion, and offer the most payoff when used correctly, are HDR, portrait mode, night mode, and aspect ratio. Here's what each one does under the hood.
What you will need
Understanding Each Key Setting
HDR (High Dynamic Range)
HDR stands for High Dynamic Range. When you photograph a scene with both bright sky and dark shadows — like someone standing in front of a window — your phone normally exposes for one or the other, leaving the rest washed out or too dark. HDR solves this by rapidly capturing several exposures and merging them into one image, preserving detail across the full tonal range.
When to use it: Landscapes, cityscapes, and backlit subjects benefit most. When to skip it: Sports, pets, or anything moving quickly — the brief delay between exposures can produce ghosting or blur.
Portrait Mode
Portrait mode uses a combination of depth sensors and software processing to blur the background while keeping your main subject sharp. This effect mimics the shallow depth of field photographers achieve with expensive camera lenses. Most phones perform best when your subject is roughly two to five feet away and clearly separated from the background.
Get Better Portrait Results With Contrast
Portrait mode performs best when your subject's outline is clearly distinct from the background — a person against open sky or a plain wall works better than a cluttered room. Good lighting on your subject's face also helps the software make accurate depth decisions.
Night Mode
Night mode works by holding the shutter open longer and capturing multiple frames, then aligning and combining them to reduce noise (the grainy, speckled look that appears in low light). The phone does this automatically, but it requires the camera to stay reasonably still during the exposure. Resting your arms against your body or placing the phone on a surface dramatically improves results.
Aspect Ratio
Aspect ratio determines the rectangular shape of your photo — commonly expressed as width-to-height proportions like 4:3, 16:9, or 1:1. The default 4:3 captures the widest field of view and most image data. Switching to 16:9 crops the image for a widescreen look that fills a TV or laptop screen. The square 1:1 ratio suits social media grids. Changing this setting doesn't zoom in — it crops the sensor's output to fit the chosen shape.
Because higher-resolution photos take up more storage space, understanding where your photos live matters. See our guide to phone storage and cloud photo libraries for a clear breakdown.
How to Adjust These Settings on Your Phone
The steps below cover the most common paths on Android and iPhone. Exact labels may differ slightly between manufacturers and software versions.
Open your native camera app
Use the camera app that came pre-installed on your phone — not a third-party app. The built-in app has the deepest access to hardware features like night mode and portrait mode.
Locate the shooting modes
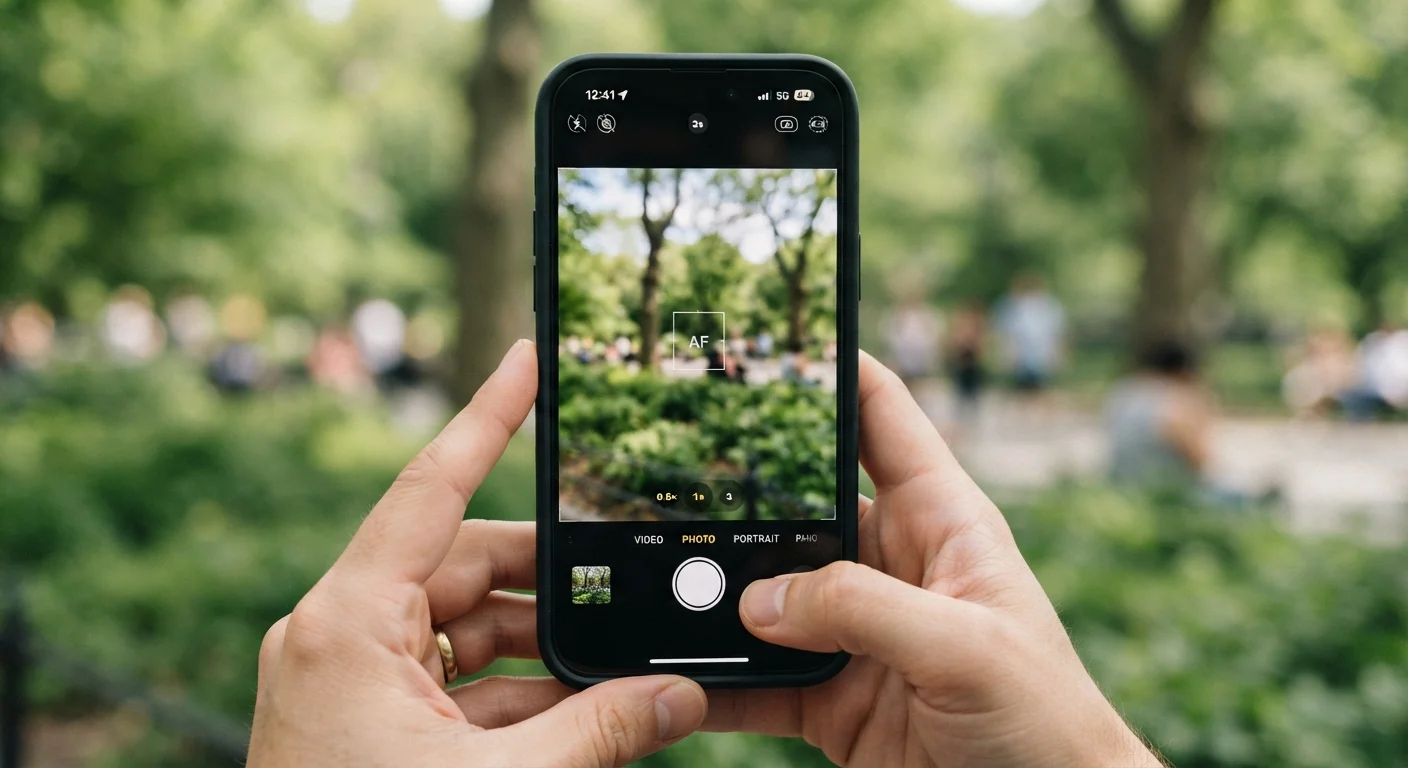
Swipe horizontally across the mode labels at the bottom (iPhone) or top (many Android devices) of the viewfinder. You'll typically see options like Photo, Portrait, Video, Night, and sometimes Pro or More.
Toggle HDR on or off
In the standard Photo mode, look for an HDR button at the top of the screen. On iPhone, go to Settings > Camera and toggle Smart HDR. On Android, tap the settings gear or arrow icon inside the camera app to find the HDR option. Set it to Auto for everyday use, or turn it off manually when shooting moving subjects.
Switch to Portrait mode
Select Portrait from the mode selector. Position your subject between two and five feet away. Wait for the camera to lock focus — many phones display a yellow or green frame when the effect is active and the subject is properly detected.
Enable Night mode in dim conditions
Night mode typically activates automatically when the camera detects low light — you'll see a moon icon appear. You can tap this icon to adjust the exposure duration manually (longer = brighter but more blur risk). Brace your elbows against your sides and hold still until the countdown finishes.
Change the aspect ratio
In standard Photo mode, tap the settings arrow or gear icon, then look for Aspect Ratio or a ratio label like 4:3. Select your preferred ratio. Shoot a test frame and review it in your photo library to confirm the crop looks the way you expected before continuing.
If your camera app requests permissions you're unsure about, our article on what app permission requests really mean explains how to evaluate them.
Some Settings Increase Battery and Storage Use
Night mode, HDR, and shooting in higher-resolution ratios can drain your battery faster and fill storage more quickly than standard shooting. If your battery doesn't last the day already, our guide on why your phone battery drains fast covers the most common causes and fixes.