

Key Takeaways
Why Phone Transfers Go Wrong (and How to Avoid It)
Getting a new smartphone is exciting — until you realize your photos haven't transferred, your authenticator app is gone, or you can't log into your bank. Most transfer problems aren't caused by faulty technology; they happen because a step was skipped or done out of order.
The good news is that both iPhone and Android have made the transfer process significantly more straightforward in recent years. Built-in tools can move contacts, photos, messages, apps, and most settings automatically. Understanding what doesn't transfer automatically — and why — is what separates a smooth switchover from a stressful one.
For a broader look at what's involved in setting up any new device, our device setup walkthrough covers the full picture across phones and tablets.
Charge Both Phones Before You Start
A transfer can take 30–60 minutes or longer depending on how much data you have. Starting with both phones above 80% battery — or keeping them plugged in throughout — prevents a dead battery from interrupting the process mid-transfer.
If you're new to smartphones altogether, or helping someone who is, our beginner's guide to smartphones is a friendly starting point before diving into a transfer.
What You Need Before You Start
Gathering the right information and tools upfront prevents mid-transfer scrambles. The prerequisites and tools below cover everything you'll need.
What you will need
iCloud or Google One (cloud backup)
Stores a backup of your phone's data that can be restored onto your new device.
Quick Start (iPhone) or Phone Switch / Smart Switch (Android)
Built-in device-to-device transfer tools that move data directly between phones without needing a computer.
USB cable or adapter
Some Android transfer methods use a wired connection for faster, more reliable data transfer.
Your authenticator app's export function
Migrates two-factor authentication codes to the new device before the old one is wiped.
Don't Wipe Your Old Phone Yet
Keep your old phone active and unwiped until you have confirmed that every category of data — contacts, photos, apps, messages — has successfully transferred to the new device. A factory reset is permanent. Once it's done, recovery is rarely possible without a prior backup.
Step-by-Step: Transferring Your Phone
Follow these steps in order. Skipping ahead — especially past the backup and authenticator steps — is where most people run into trouble.
Back up your old phone
Before touching your new phone, create a fresh backup of your old one. This is your safety net.
- iPhone: Go to Settings → [your name] → iCloud → iCloud Backup and tap Back Up Now. Wait for it to complete.
- Android: Go to Settings → System → Backup and enable backup to your Google account. Tap Back up now.
Make sure the backup finishes — you'll see a timestamp confirming the last successful backup. If your phone's storage isn't fully covered by iCloud (the free tier is 5 GB), you may need to temporarily upgrade your plan or back up via a computer using iTunes or Finder.
Handle two-factor authentication apps
This step often gets skipped — and it can leave you locked out of critical accounts. Open any authenticator app on your old phone and look for a Transfer accounts or Export option in the settings menu. Follow the app's guided process to move codes to the new device. Do this before you begin the main transfer.
Use the built-in device transfer tool
Both platforms include a guided transfer wizard that handles the heavy lifting.
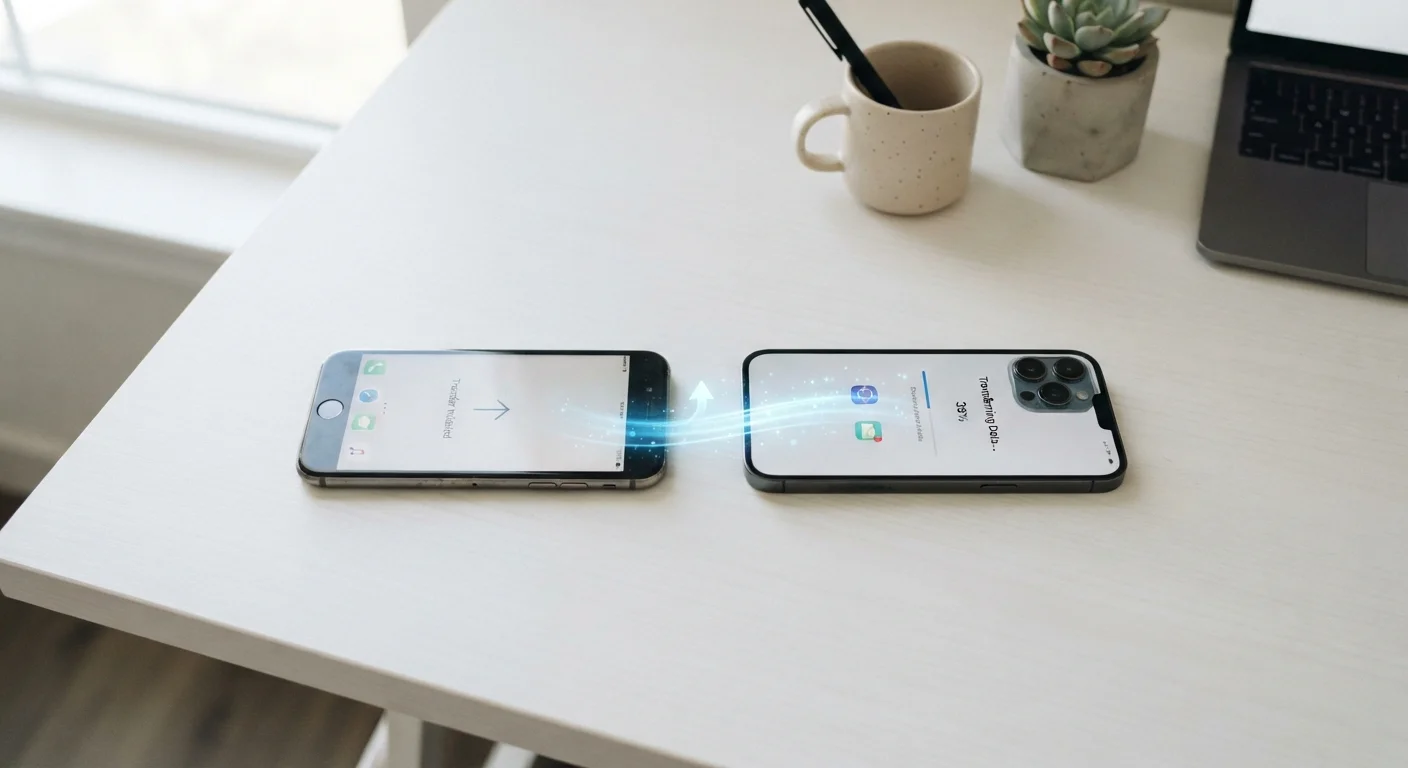
- iPhone to iPhone: Place your old iPhone near your new one during new device setup. A Quick Start prompt appears automatically. Follow the on-screen instructions — your backup is restored directly.
- Android to Android: During new device setup, select Copy apps and data, then choose to restore from a Google backup or use a direct cable transfer via your phone manufacturer's transfer app (Samsung Smart Switch, for example).
- Switching platforms (iPhone to Android or vice versa): Apple offers a Move to iOS app for Android users switching to iPhone. Android manufacturers often provide their own cross-platform tools. Expect some apps to need manual reinstallation since iOS and Android app stores are separate.
Sign back into your accounts
Once setup completes, several apps will ask you to sign in again — this is normal and expected. Work through the list methodically:
- Email and calendar apps
- Social media and messaging apps
- Banking and financial apps (these often require identity reverification)
- Streaming services
Keep a secure password manager handy, or use your phone's built-in password autofill to speed this up. For tips on locking down these accounts once you're signed in, see our guide to phone security settings.
Verify that everything transferred correctly
Don't assume the transfer worked — check each category manually before moving on:
- Contacts: Open the contacts app and scroll through to confirm names and numbers are present.
- Photos: Open your camera roll and spot-check older albums, not just recent shots.
- Apps: Review your app list for any missing apps that didn't restore automatically.
- Messages: iMessage threads restore via iCloud backup; standard SMS may not transfer between platforms.
- Notes and documents: Check apps like Notes, Voice Memos, and any document editors.
If you're unsure how your photos are stored — locally versus in the cloud — our explainer on smartphone storage and cloud photos can help clarify.
Factory reset your old phone
Only after confirming everything is safe on the new device should you reset the old phone.
- iPhone: Settings → General → Transfer or Reset iPhone → Erase All Content and Settings.
- Android: Settings → System → Reset options → Erase all data (factory reset).
Signing out of your Apple ID or Google account before the reset is important — it removes the device from your account and prevents activation lock issues if you plan to sell or give the phone away.
Two-Factor Authentication Apps Need Special Care
Authenticator apps (such as Google Authenticator or Microsoft Authenticator) store one-time codes locally and do not automatically back up in most cases. Before switching phones, use the app's built-in transfer or export feature, or temporarily switch to SMS-based verification. Skipping this step can lock you out of accounts entirely.