

Key Takeaways
Why Grout Fails in the First Place
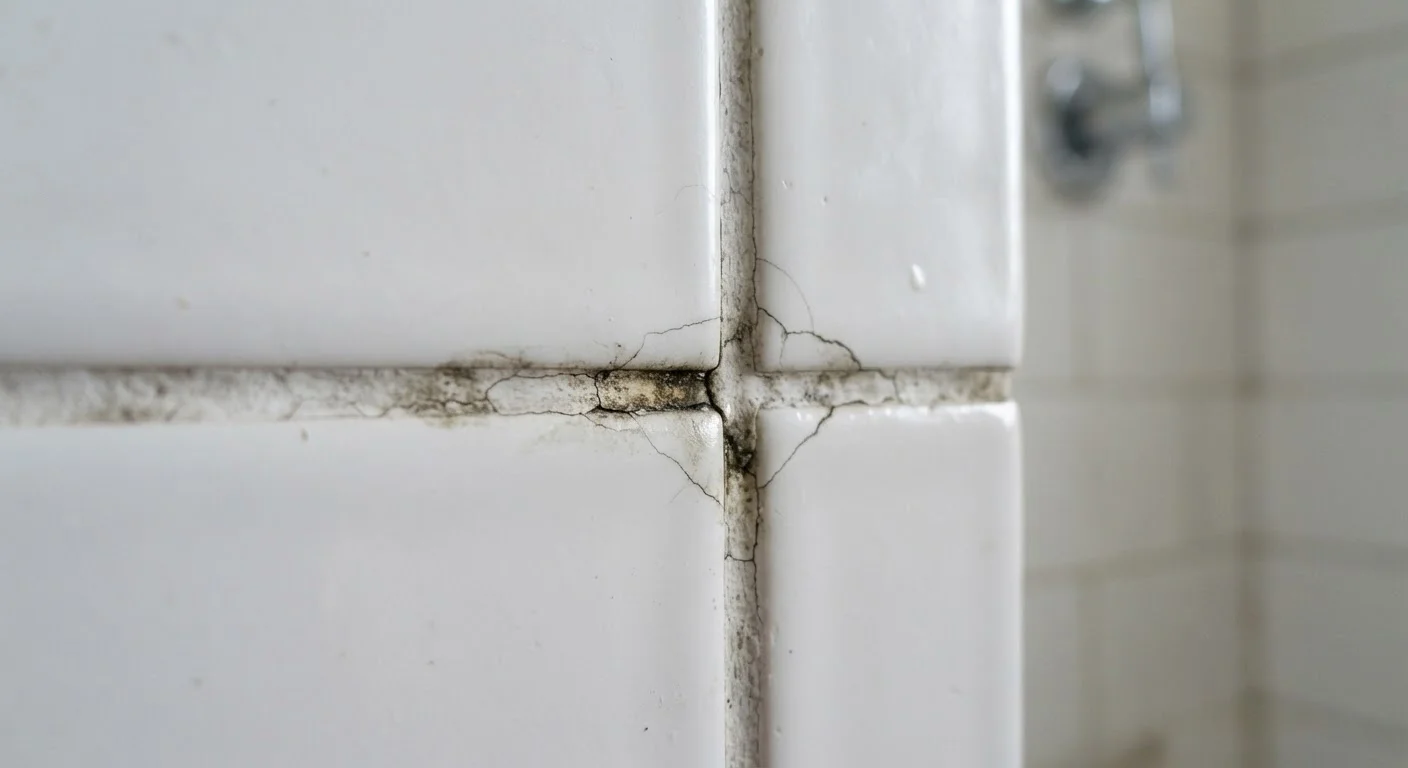
Grout is a cement-based filler, not an adhesive, and it has real limitations. It can tolerate normal household conditions well — but only when it's installed correctly on a stable substrate and properly maintained afterward. Most grout failures trace back to one of three root causes: installation errors, inadequate moisture protection, or movement in the structure beneath the tiles.
Discolouration follows a different pattern. The porous surface of unsanded or sanded cement grout acts like a sponge for soap scum, hard-water minerals, and airborne mold spores. Over time, that absorption shows up as grey or black staining that regular cleaning can't touch. Understanding which problem you're dealing with shapes the right response — a surface stain needs a cleaner or a reseal, while a cracked joint may need full removal and replacement.
Recurring Cracks May Signal Structural Movement
If grout cracks keep returning in the same location after repair, the problem may not be the grout itself. Ongoing substrate movement — caused by settling, framing shifts, or a flexing subfloor — will continue to break any surface repair. Before regrouting, investigate the underlying cause. Our guide to wall cracks can help you distinguish cosmetic from structural issues.
Common Mistakes That Lead to Cracking and Staining
Most grout problems are avoidable. The mistakes below account for the overwhelming majority of premature failures seen in residential tile work — and each one has a straightforward fix.
Skipping or rushing the curing period after grouting.
Why it happens: Homeowners often want to use the tiled space as soon as possible and don't realise that grout needs time to fully harden before it can handle moisture or foot traffic.
Mixing grout to the wrong consistency — too watery or too stiff.
Why it happens: Eyeballing the water-to-powder ratio is common, especially for first-timers. Too much water weakens the finished grout; too little makes it difficult to work and prone to crumbling.
Failing to seal grout in wet or high-traffic areas.
Why it happens: Many people assume grout is inherently waterproof, or they simply don't know that unsealed grout is porous and absorbs staining agents readily.
Using the wrong grout type for the joint width or application.
Why it happens: Not everyone knows that unsanded grout is formulated for narrow joints (under 1/8 inch) while sanded grout suits wider gaps. Using the wrong type leads to shrinkage cracks or weak joints.
Ignoring a flexible joint (movement joint) at wall-floor transitions.
Why it happens: Grout is rigid. When installed into corners where two planes meet — such as where a tiled wall meets a tiled floor — normal building movement causes it to crack repeatedly.
Don't Grout Over Existing Cracks
Applying fresh grout directly over cracked or crumbling grout rarely holds. The old material prevents proper adhesion, and the new layer will typically fail within weeks. Always remove damaged grout completely with an oscillating tool or grout saw before applying any new material. Wear eye protection and a dust mask during removal.
How to Regrout or Refresh Discoloured Grout
Once you've diagnosed the problem, the repair path is usually one of three options:
- Deep cleaning: For surface staining without physical damage, apply an alkaline grout cleaner and scrub with a stiff nylon brush. Avoid wire brushes — they can erode the grout surface. Oxygen-based cleaners work well for mold-based staining in showers.
- Grout colourant or sealer-stain: If grout is structurally sound but permanently discoloured, a penetrating grout colourant can restore a uniform appearance while also sealing the surface. Follow application directions carefully and test in an inconspicuous area first.
- Full regrout: Remove damaged or missing grout with an oscillating multi-tool fitted with a grout removal blade, or with a manual grout saw. Clear joints to a depth of at least 3 mm, vacuum out dust, and dampen the joints slightly before pressing in fresh grout with a rubber float. Clean haze from the tile face within 20–30 minutes using a damp sponge.
~90%
Of grout failures linked to installation error
Tile industry professionals widely estimate that the vast majority of premature grout failure stems from preventable application mistakes rather than product defects.
1–2 years
Typical resealing interval for wet-area grout
Most grout sealant manufacturers recommend reapplying penetrating sealer in showers and other high-moisture areas every one to two years for lasting protection.
After any repair, allow full cure time before sealing. In wet areas, plan to reseal on a regular schedule — it's the single most effective step you can take to extend grout life.